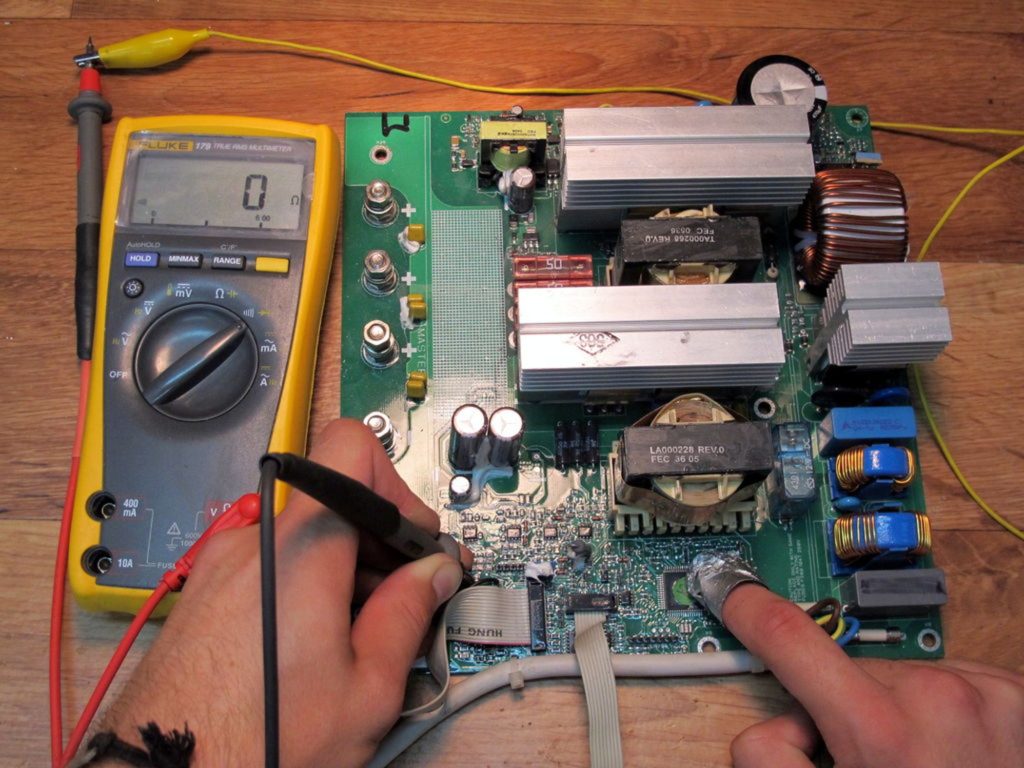
Schneider Electronic Printed Circuit Board Restoration through Integrated Circuit Inspection will go through a series of steps to figure out the root cause;

1st of all, the suspected integrated circuit, according to the instructions of the manual, first check whether there is a signal (waveform) at the input and output ends. If there is no input, check the control signal (clock) of the IC. If it is, the IC is bad. There is a great possibility that there is no control signal, and it traces to its previous pole until it finds a damaged IC. Do not remove it from the pole for the time being, and use the same model. Or the IC with the same program content is on the back, and turn on to see if it improves, to confirm whether the IC is damaged.
2nd is Use the tangent or jumper method to find short-circuit lines: find that some of the letter and ground lines, + 5V or other pins that should not be connected to the IC are short-circuited, you can cut the line and measure again to determine whether it is an IC problem or a PCB board trace problems which can be detected through Layout drawing or Gerber file, schematic diagram of PCB reverse engineering, or borrow signals from other ICs and solder to ICs with incorrect waveforms to see if the phenomenon screen becomes better and judge the quality of the IC.
3rd is Control method: Find a proper functional printed circuit board with the same layout and measure the pin waveform, corresponding number of the corresponding IC to confirm whether the IC is damaged.
4th is Test IC with IC-ONLINE TEST software in microcomputer universal programmer (ALL-03 / 07) (EXPRO-80 / 100, etc.);


