The following describes a commonly used method about how to Clone PCB Board Gerber File, the process is as follows:
The first step: first record the model, parameters, and position of all the components on the paper, especially the direction of the diode, the triode, inductor and transistor, the direction of the integrated circuits notch.

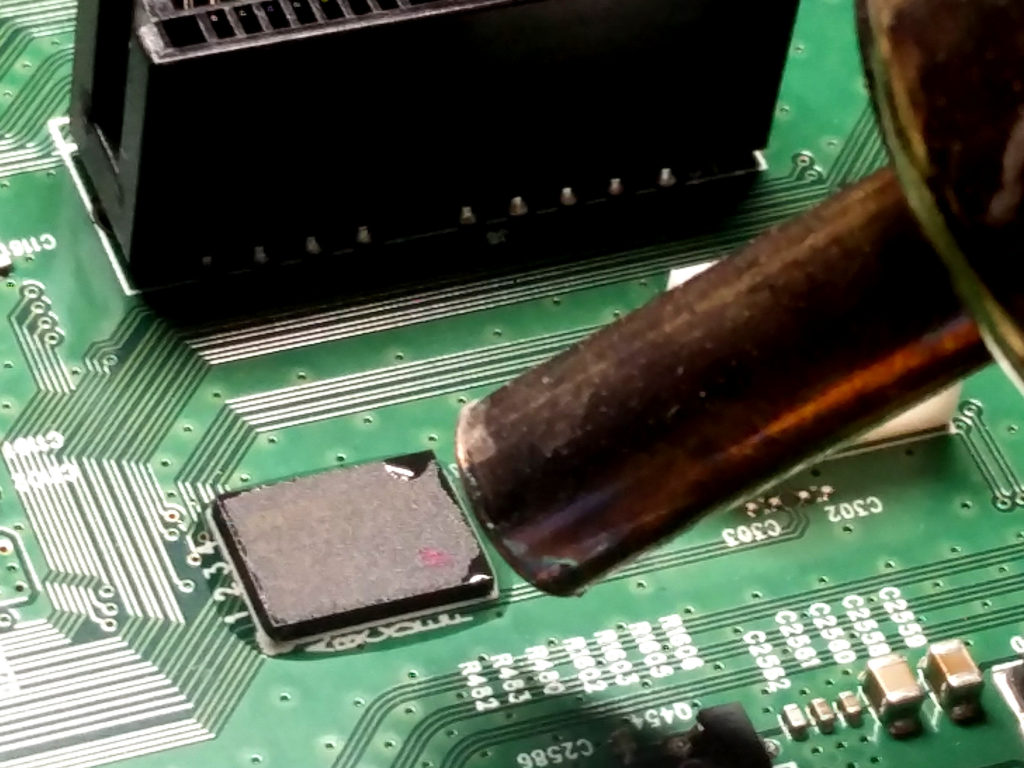
Step 2: Remove all surface mounted or PDIP electronic components, mechanical connector, socket, terminals and remove the tin residual from the vias. Clean the PCB board surface with alcohol and put it into the scanner. While scanning, you need to raise some scanned pixels slightly to get a clearer image. Start POHTOSHOP, scan the silk-screen layer in color which include all the marks, logo, text description and designator of each components on the printed circuit board, and save the file then print it out for subsequent step.
Step 3: Slightly polish the TOP layer and the bottom layer with water-dyed paper, polish it until the copper film is bright, put it into the scanner, start PHOTOSHOP, and scan the two layers separately by color. Note: The PCB must be placed horizontally and vertically in the scanner, otherwise the scanned image will not be used , and then the scanned file will be saved.

Step 4: Adjust the contrast and darkness of the canvas so that the portion with the copper film and the portion without the copper film are strongly contrasted. Then turn the image to black and white to check if the line is clear. If it is not clear, repeat this step. If it is clear, save the picture as black and white BMP format files TOP.BMP and BOT.BMP. If you find that there is a problem with the picture, you can use PHOTOSHOP to repair and correct it.
Step 5: Convert the two BMP files to Protd format files, and transfer the two layers in Protel software which is commonly used for PCB reverse engineering. If the two layers of PAD and VIA are basically coincident, it indicates that the first few steps are very good. If there is a deviation, repeat the third step.

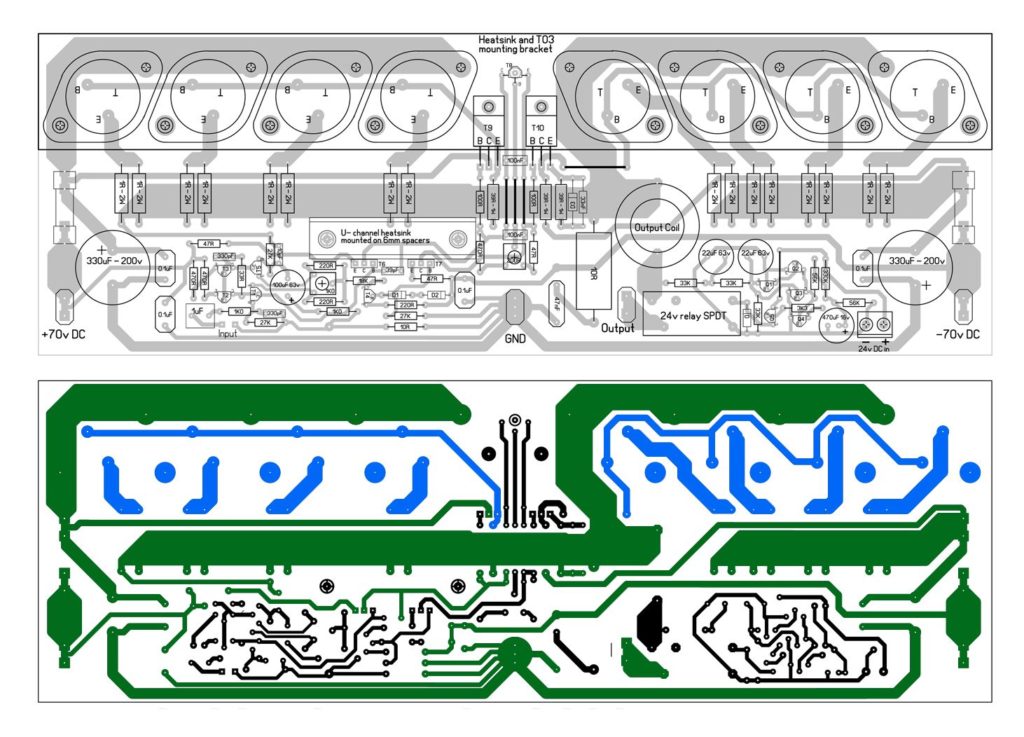
Step 6: Convert the BMP of the TOP layer to TOP.PCB, pay attention to the conversion to the SILK layer, then layout the circuitry pattern tracks in the TOP layer, and place the components according to the drawing in the second step. Remove the SILK layer after painting.
Step 7: Convert the BMP layer BMP to BOT.PCB, and convert it to the silkscreen layer as above, then trace the line in the BOT layer and delete the SILK layer after painting.
Step 8: Transfer the TOP.PCB and BOT.PCB into PROTEL 99se and combine them into one picture.
Step 9: Print the TOP LAYER and BOTTOM LAYER on the transparent film (1:1 ratio) with a laser printer, and place the film on the PCB to compare whether it is wrong, till now the PCB Board Clone process have been completed;


